 |
 |
| This site requires new users to accept that a small amount of member data is captured and held in an attempt to reduce spammers and to manage users. This site also uses cookies to ensure ease of use. In order to comply with new DPR regulations you are required to agree/disagree with this process. If you do not agree then please email the Admins using info@nikondslr.uk after requesting a new account. Thank you. |
| Moderated by: chrisbet, | ||
| Author | Post | |||||||||
|---|---|---|---|---|---|---|---|---|---|---|
jk
|
For many years I have been interested in trying to duplicate the effects that used to be obtained with colour IR Ektachrome. Has anyone managed to find a technique in Photoshop that allows you to mimic this? Obviuosly ther is also the possibility of changing the in camera CCD filter to take IR images and depending on the replacement filter then you can get similar effects. |
|||||||||
Eric
|
Remind me what it should look like? |
|||||||||
jk
|
The images look like this. http://www.vividlight.com/articles/3113.htm I like the effect/technique that produces images that look like Kodak Ektachrome Infrared with red filter or with green filter. http://mikebr.smugmug.com/Other/Experimental/6892665_WCdkX8/1/497987175_qc9zn#!i=497987175&k=qc9zn Also these. |
|||||||||
Eric
|
You can get a long way down that road by just using Channel mixing. Select the green channel and play with the percentages. If you first use the infamous 3key selection of light to mid tones, then invert it, you can protect the highlights from colour change. So a blue sky, for example, remains ......but the Foliage turns magenta. Alternatively try converting the file to CMYK before starting. It can give some interesting variations on the theme. When I get back to the desktop I will produce some samples....if you haven't cracked it by then? |
|||||||||
Eric
|
Here's some quick examples Attachment: rgb.jpg (Downloaded 65 times) |
|||||||||
Eric
|
Heres a quick cmyk mix Attachment: cmyk.jpg (Downloaded 65 times) |
|||||||||
Eric
|
A little more intensity Attachment: channelmix2.jpg (Downloaded 63 times) |
|||||||||
Eric
|
Of course, back in the 60's when this film was around, much of life looked like this..... without a camera. Attachment: 1965.jpg (Downloaded 63 times) |
|||||||||
Doug
|
Back in the day, I Loved EIR Attachment: 01135001.jpg (Downloaded 57 times) |
|||||||||
Doug
|
Here's a few more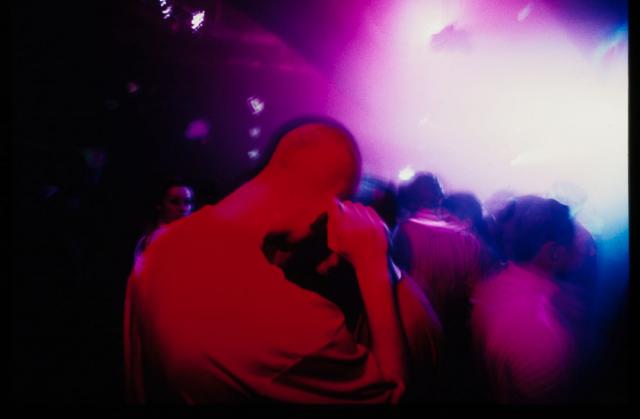 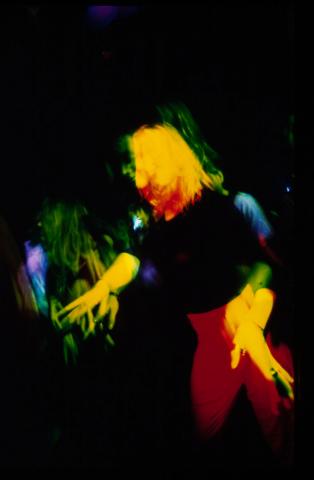 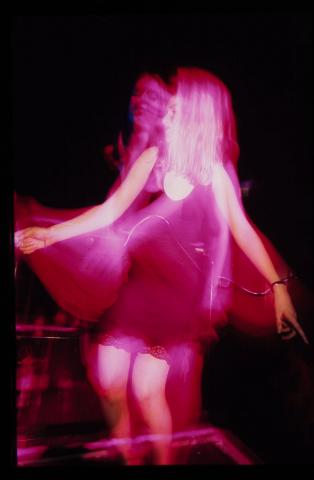 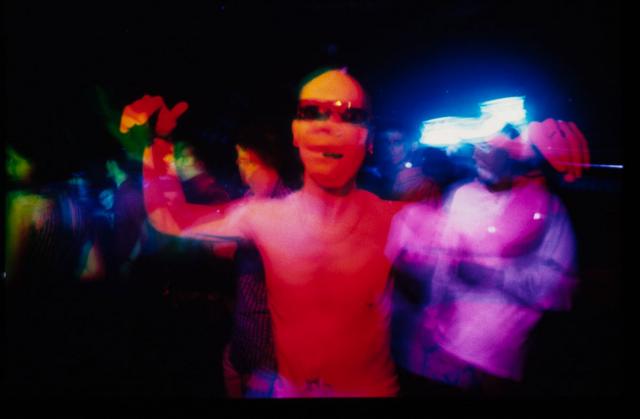 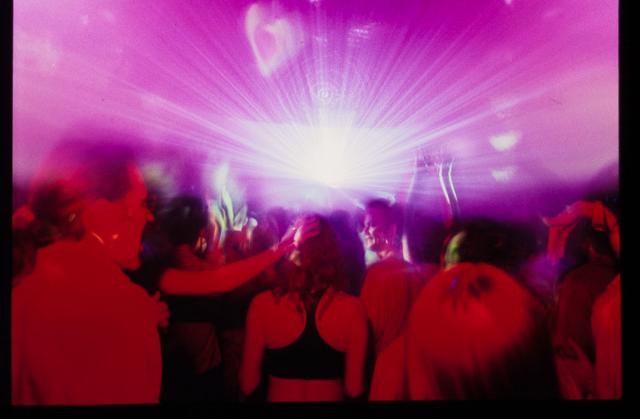 |
|||||||||
jk
|
That is exactly what I am after. Eric do you have post#8 version actionised yet ? Or can you post details of how you got there. Doug, The girl with yellow/red colours is what I used to get. EkIR was very interesting in the 70s. |
|||||||||
Eric
|
jk wrote:That is exactly what I am after. 8? You surprise me! I thought that was too off the wall and weird compared to the purer colour shifts of typical EkIR images?? Psycho images like that are easily done in curves. Just place some fixed points along the straight line then drag the line between the curves up or down to different lengths. That's all I did for this image. The modified curve can be saved for later reuse but different images will recommend slightly different treatment, so you may then have to tweat the reulting curve.. For this reason there's no point in creating an action. |
|||||||||
jk
|
Sorry Eric I must have been psyched out I meant post#7 |
|||||||||
Eric
|
jk wrote:Sorry Eric I musthave been psyched out I meant post#7 Phew. I thought you were on the wacky baccy. I will have to do it again as I can't remember. I suspect I adjusted the Green channel as in #5. Then adjusted the blue channel. To boost the reds. Will get back to you. |
|||||||||
jk
|
Thanks. I managed something similar in Bibble with some of the old plugins but I havent managed to recreate yet in ASP. |
|||||||||
Doug
|
Using Curves in Photoshop you can do the following Command Click on a colour in the image (this will place a point on the curve on each channel) Visit and adjust the point in each channel eg. If you command clicked on pure green the channel outputs might be 0,256,0 (RGB) Change these to 256,0,0 and Green becomes Red Do this for each colour that you want shifted (obviously this will have dramatic effects on other colours in the image) If you wanted skin tones to be Orange you would work out the values (from the colour picker) and then adjust the output to match This curve will work for those colours for all images taken under the same light/settings |
|||||||||
KirkP
|
Eric wrote: Of course, back in the 60's when this film was around, much of life looked like this..... without a camera. Great comment... snorted tea through my nose for five minutes, thanks! |
|||||||||
steve of oxford
|
JK + pals I can't remember if it had it or not, but have you looked at Alien Skin film simulation software? It's a photoshop plugin I used to have, still got the software somewhere though I think my version will only work with CS. I do seem to remember it did have something in there to do with IR, if I get my old comp set up again I could take a look for you. As for removing the CCD filter, yes this is possible on some cameras. The Sigma is a real beauty for this...their filter is accessible directly through the lens mount and is designed to be user-interchangeable. If your camera doesn't have a user removable filter, and you remove it, chances are you will have to filter before the lens. Another option is to buy a forensic body which can be used in IR & UV modes, I'm a little rusty on this but I think one of the major brands did one, was it Fuji? Edit: yes it was the Fuji S3 Pro UVIR. I'd love one of those. |
|||||||||
jk
|
I have some AS software but I hadnt noticed this effect in the package. I'll take another look. Thanks for the info. I would love a new Fuji S3 UV/IR. I used to have an ebay search for one but they dont seem to come up. What Sigma model are you referring to? |
|||||||||
Current theme is Blue
| A small amount of member data is captured and held in an attempt to reduce spammers and to manage users. This site also uses cookies to ensure ease of use. In order to comply with new DPR regulations you are required to agree/disagree with this process. If you do not agree then please email the Admins using info@nikondsl.uk Thank you. |